This Pinterest-inspired wedding DIY project turned out better than I could have possibly imagined – and it was really quite simple! 
Photo by Maddie Mellott Photography
As a book-loving couple, we wanted include our mutual love of reading in our wedding day.
So, when I stumbled across this post on Pinterest and saw that they used Jane Austen book pages, I knew I had to give it a try. I immediately pinned it to my “Dream Wedding” board. And then I started scouring thrift stores for old copies of Jane Austen books.
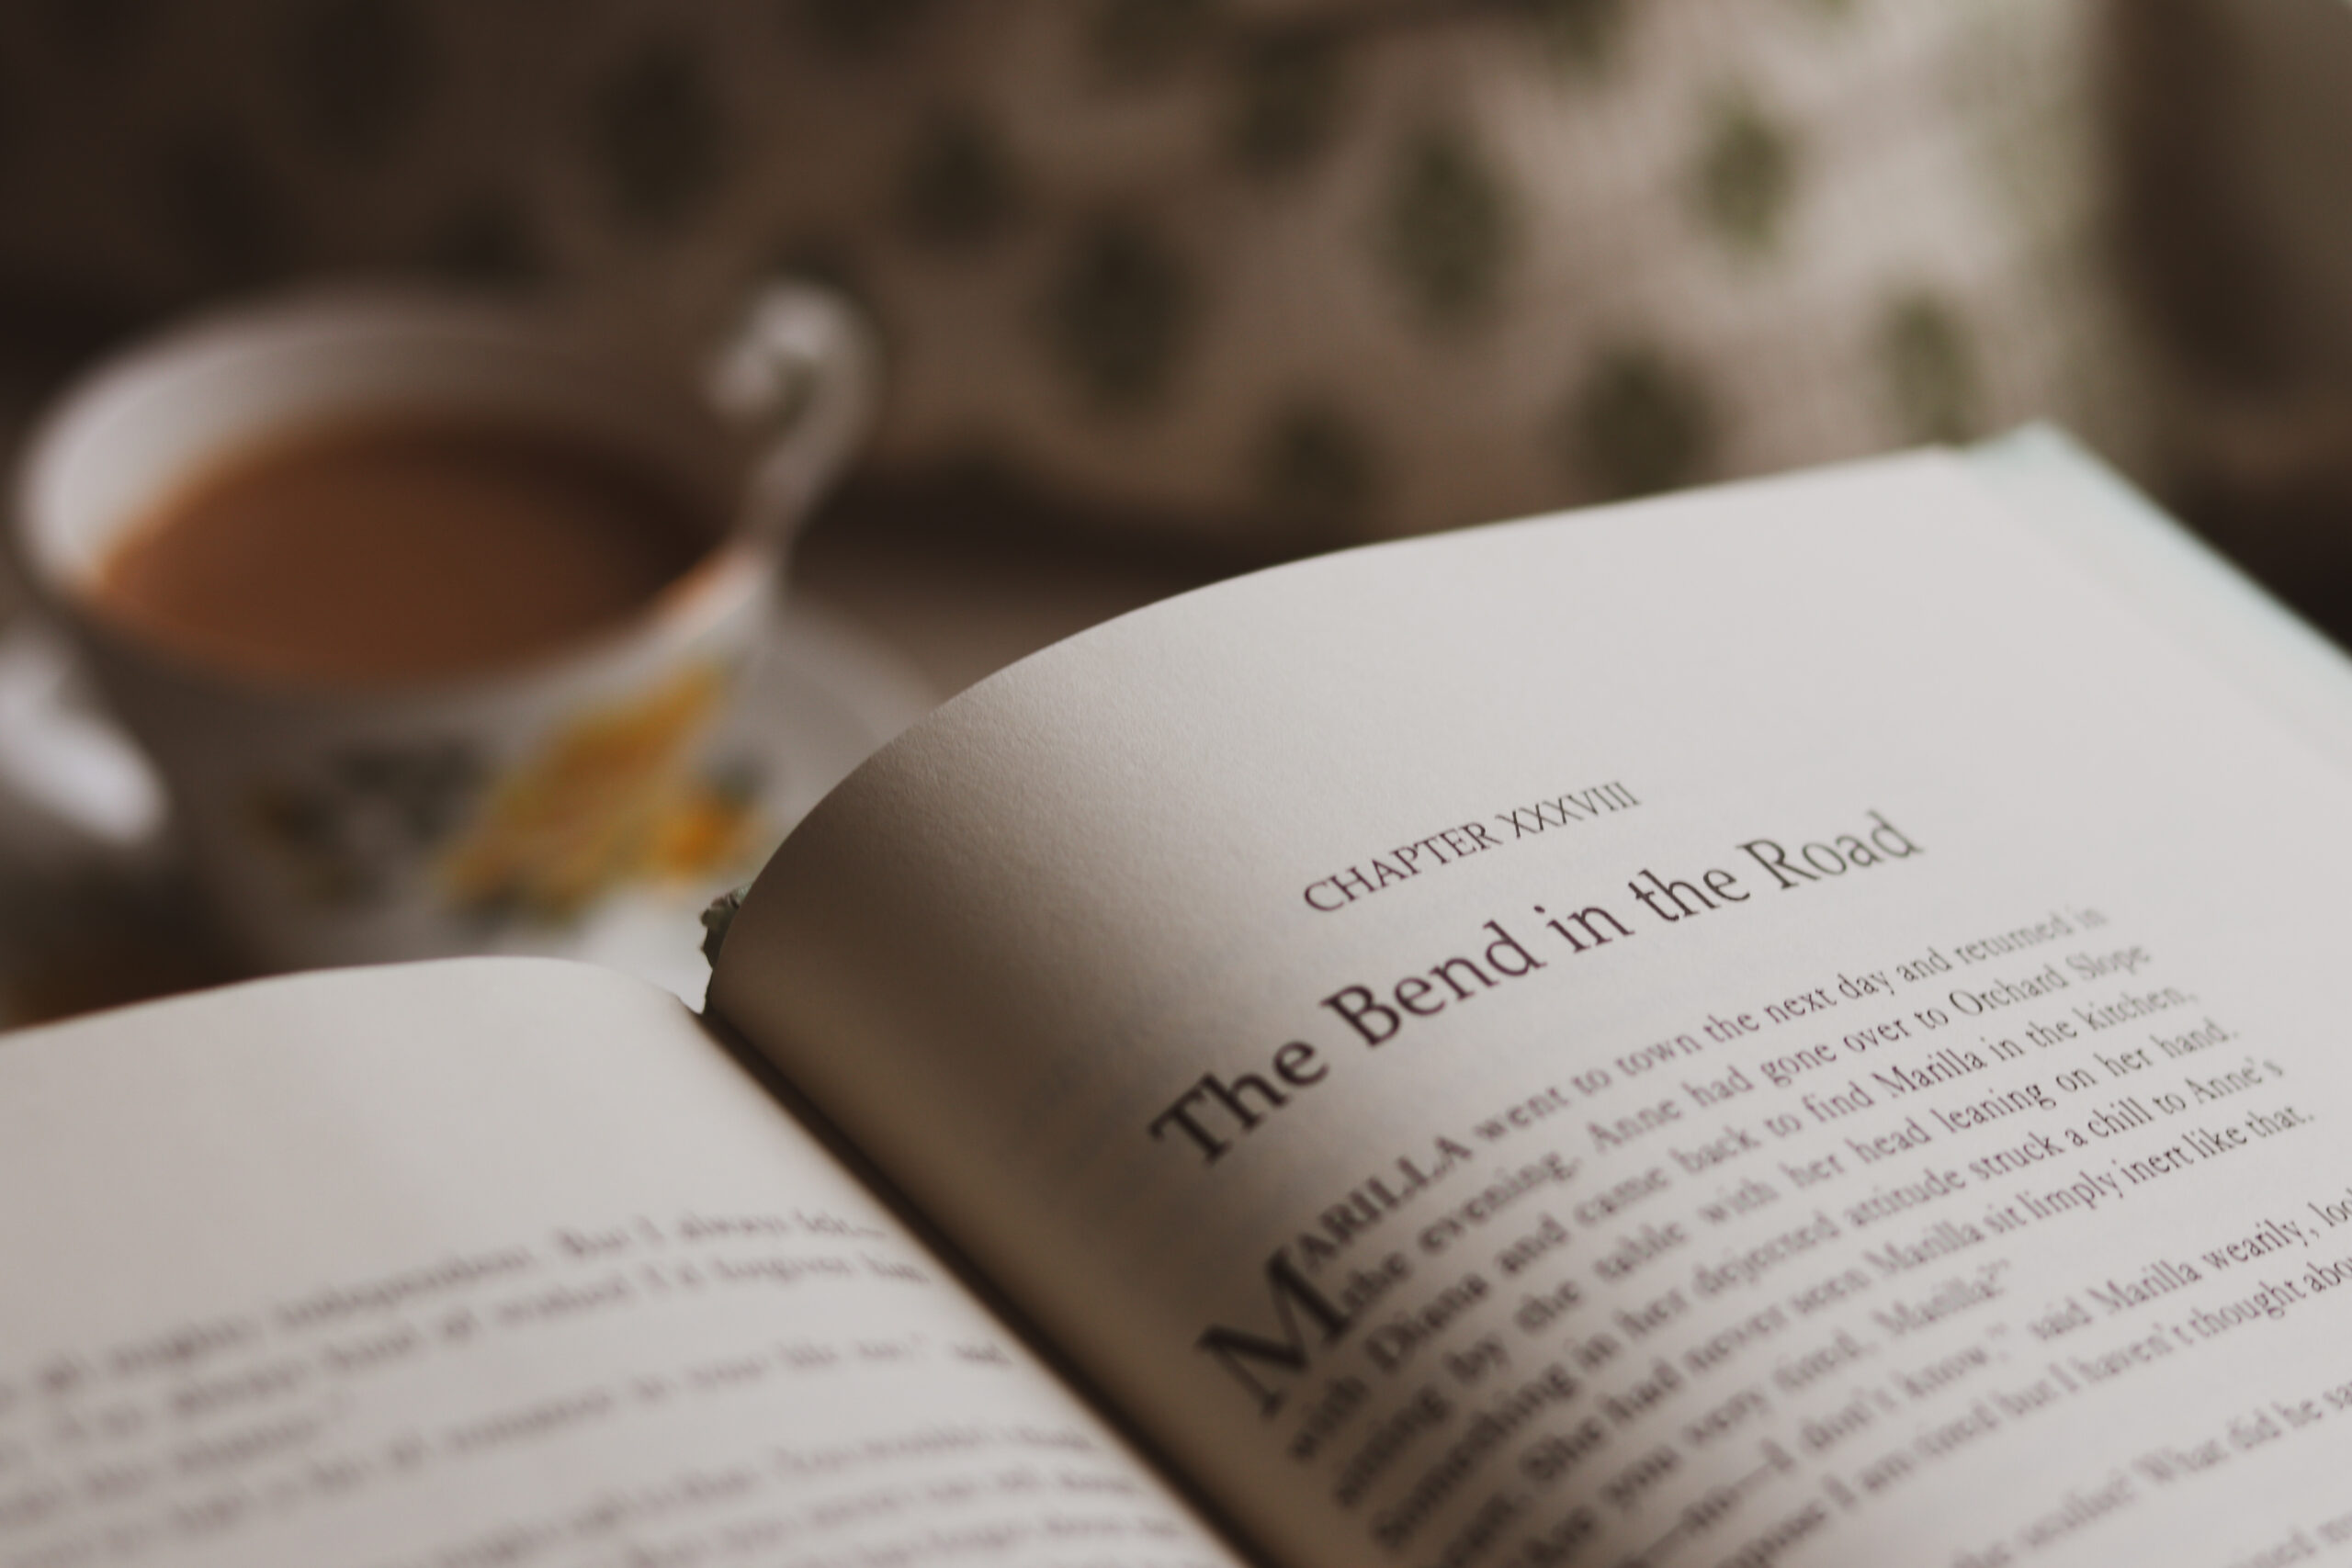
Initially, I envisioned using pages from multiple books that we both loved. But, the book-lover in me didn’t have the heart to sacrifice so many books for one DIY project. Luckily, I found a beautiful paperback copy of Jane Austen’s Emma at our local Value Village.
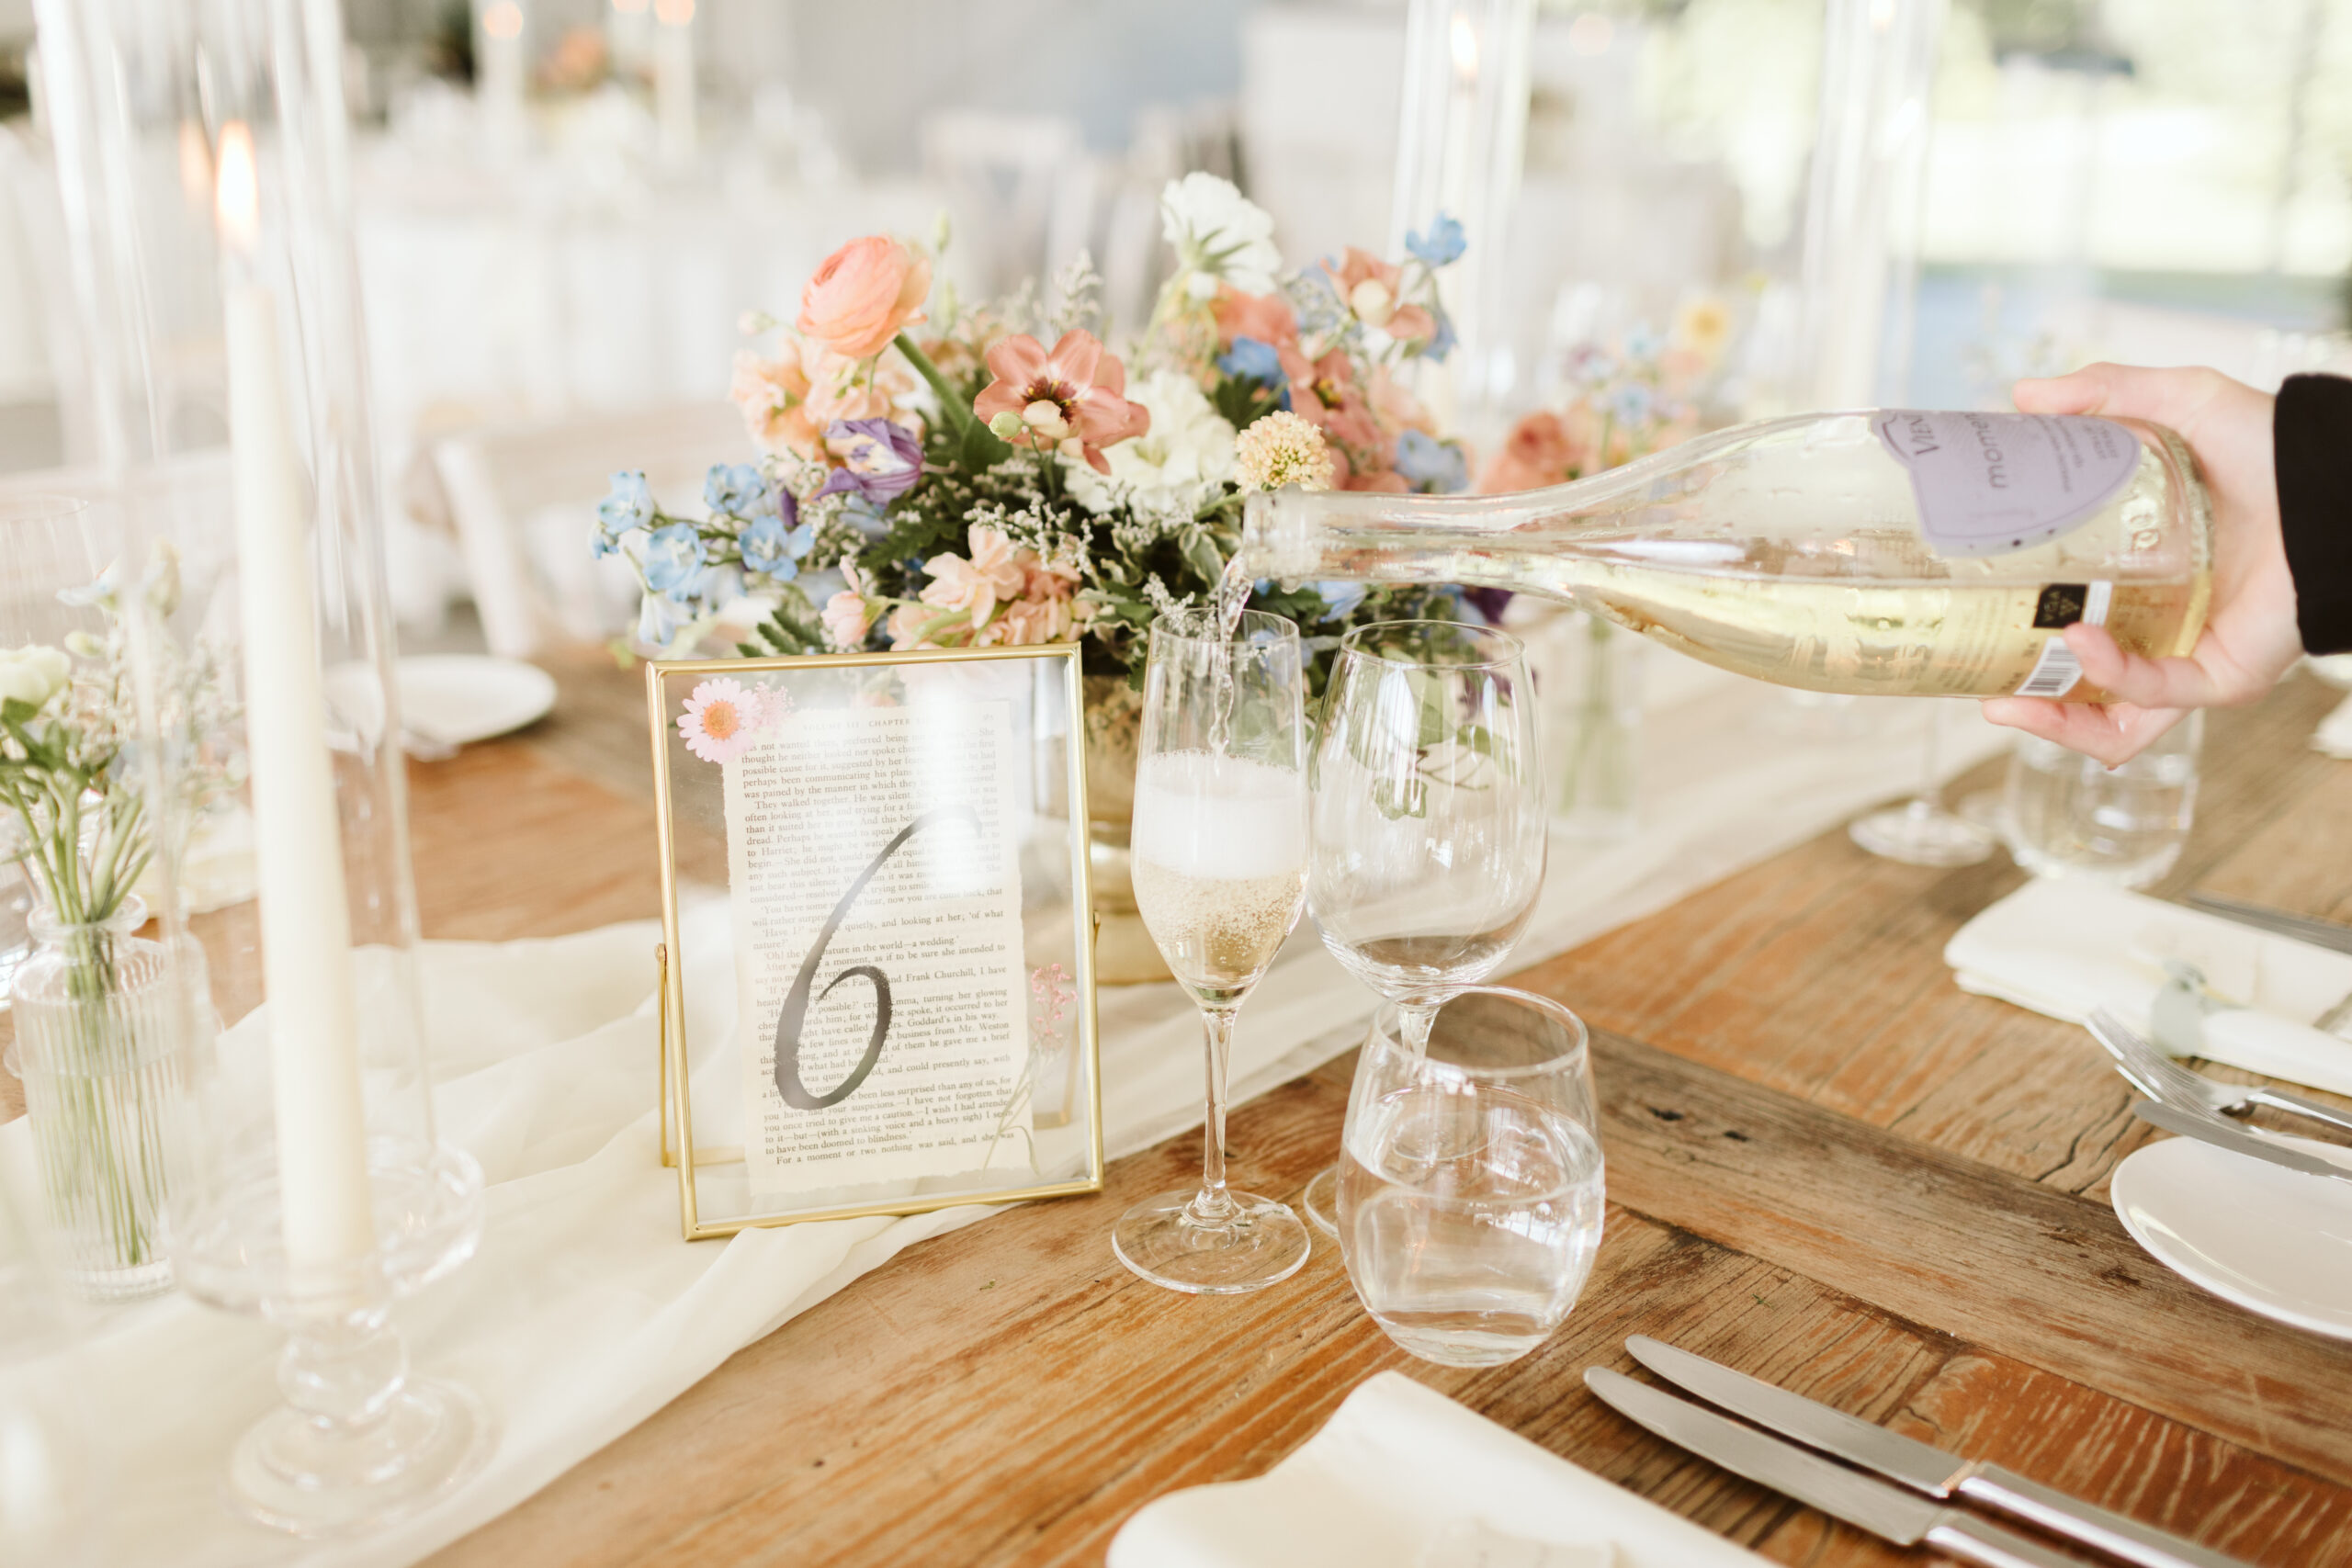
With the book in hand, I carefully removed the cover and the pages with an exacto knife (and my fiancée’s help). After, we gently ripped the sides of the selected book pages (probably less than half an inch) with a ruler. This gave the pages a vintage, distressed look.
You don’t have to do this, but I ended up combing through the book pages, hand-selecting the ones with my favourite quotes (in case some fellow book-loving wedding guests wanted to read the passages on the page). One of my personal favourites in Mr. Knightley’s confession to Emma:
“I cannot make speeches, Emma… If I loved you less, I might be able to talk about it more. But you know what I am. – You hear nothing but the truth from me.—I have blamed you, and lectured you, and you have borne it as no other woman in England would have borne it… But you understand me. – Yes, you see, you understand my feelings – and will return them if you can.”
Emma, Jane Austen
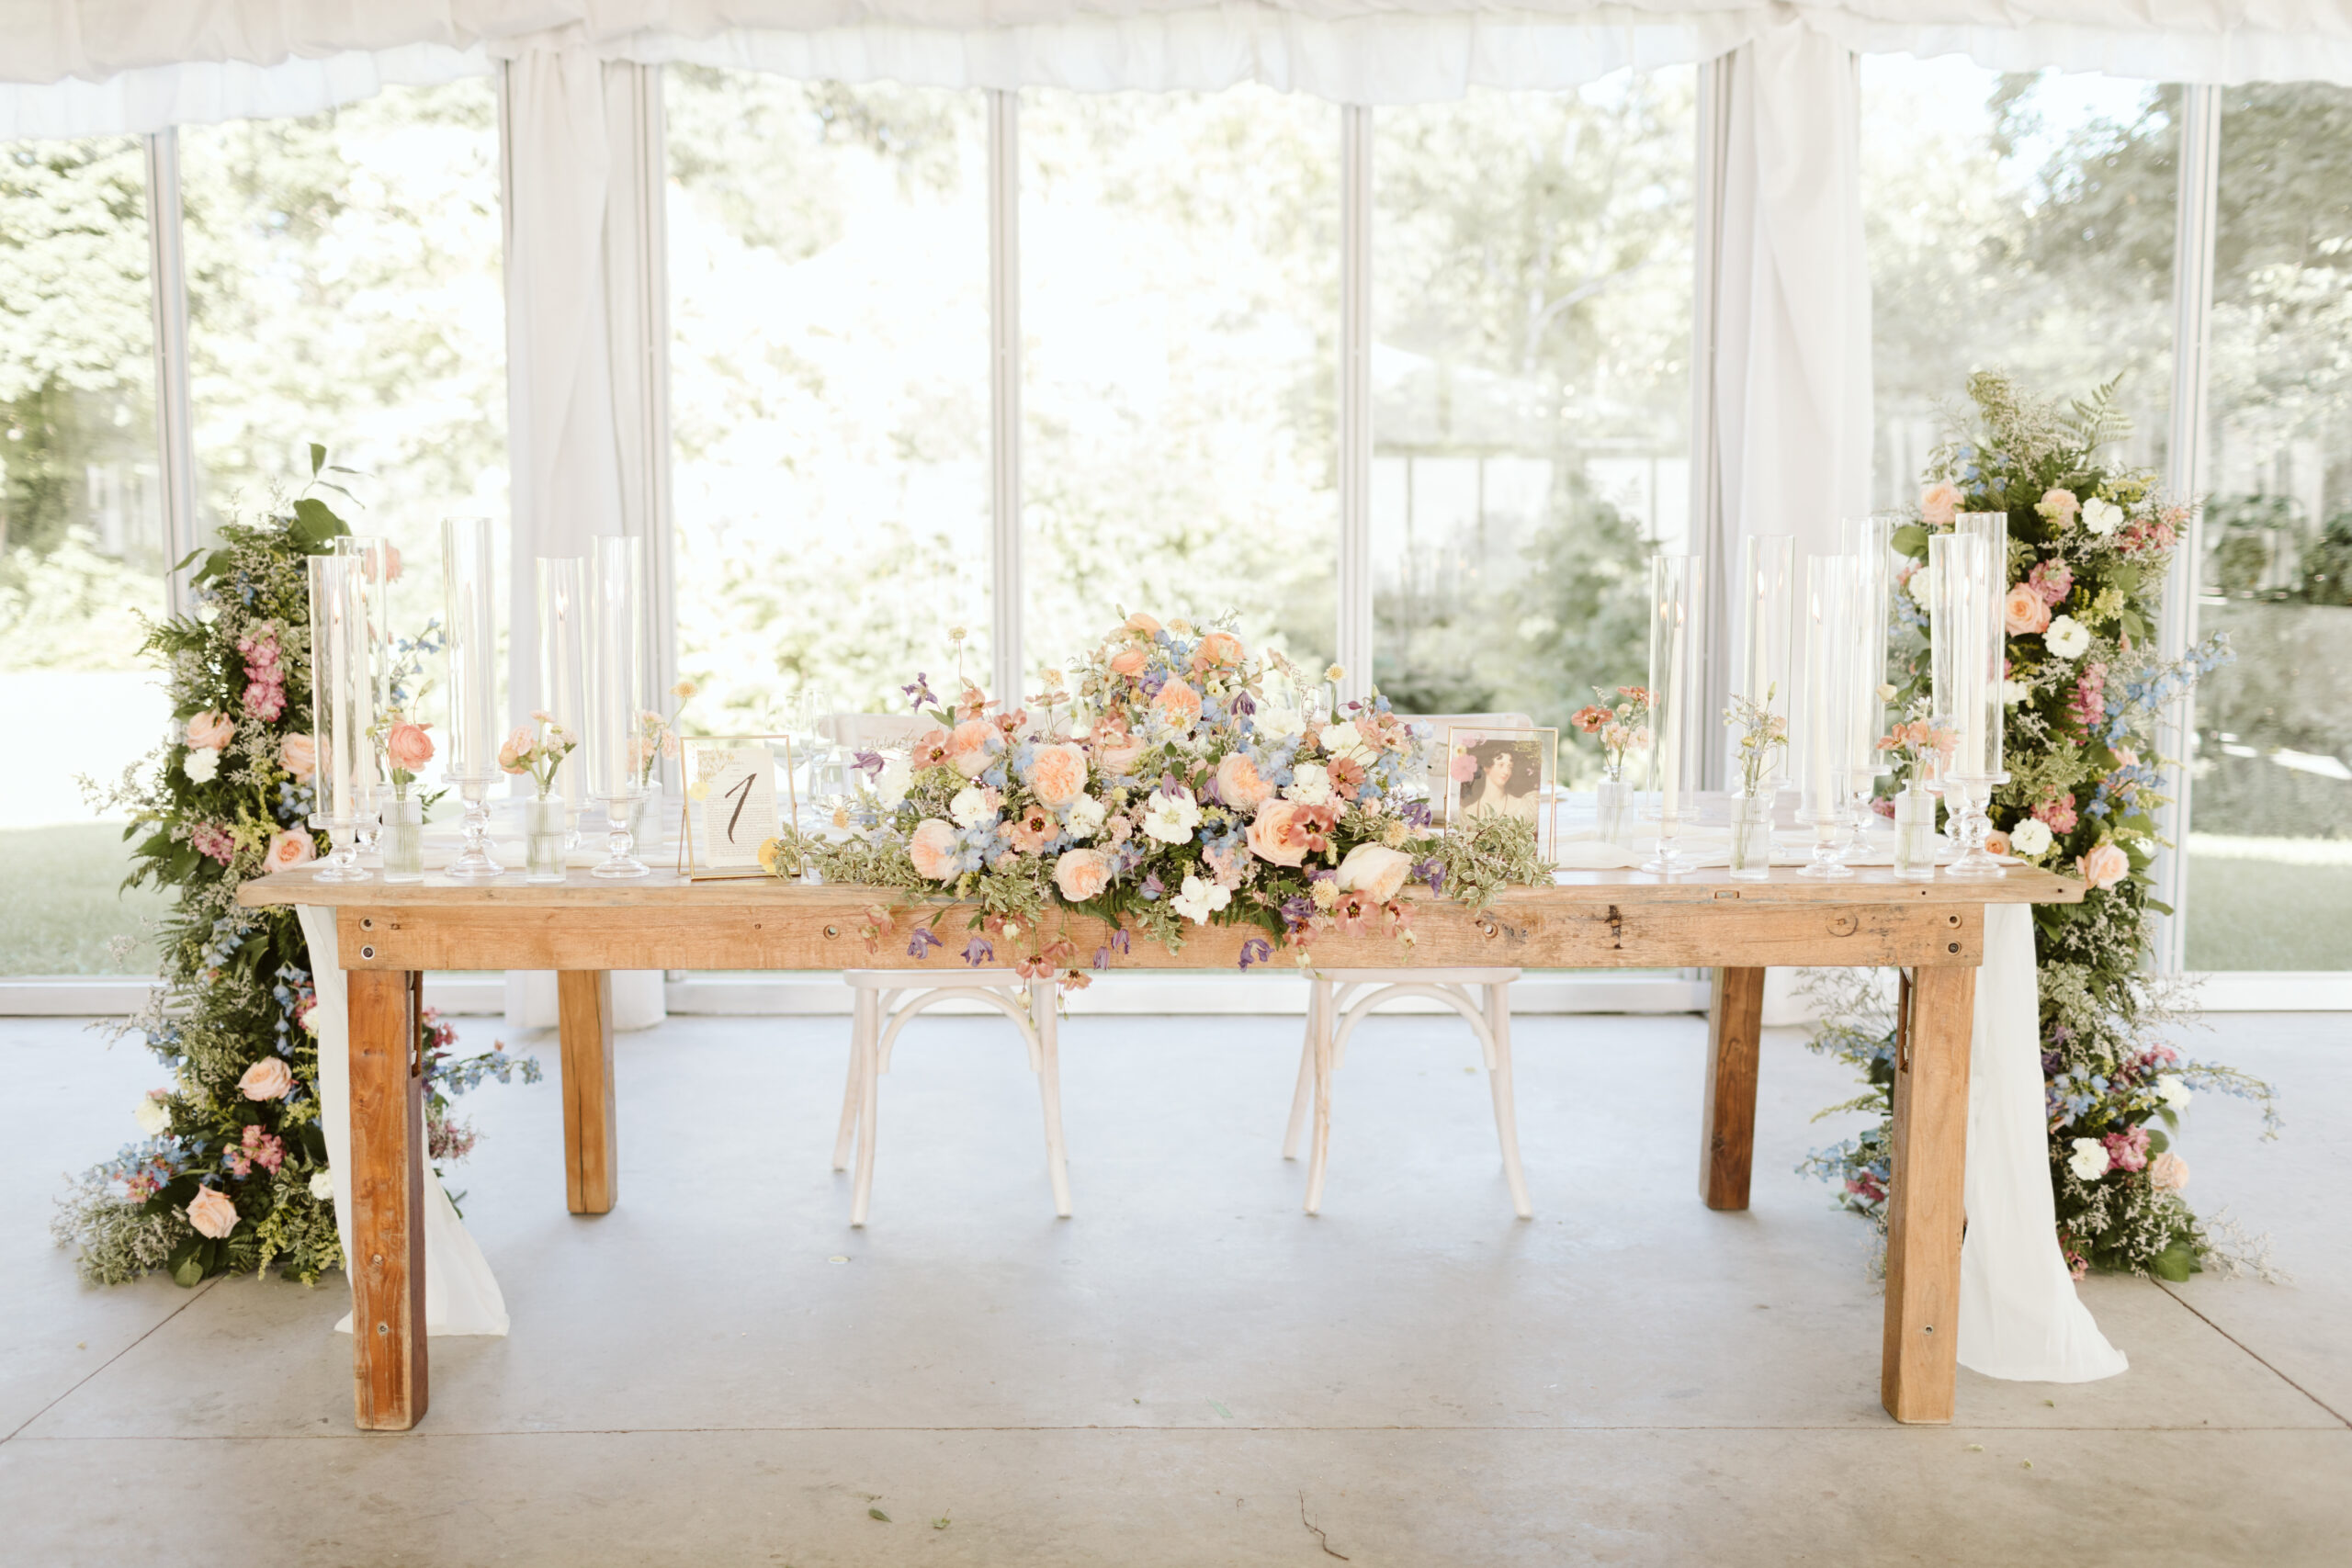
I also kept the book pages in sequential order, with the first page of Emma intended for Table 1 (the sweetheart table) and the last page intended for Table 13 (the final wedding table). This might be a tad over-the-top, and I highly doubt any wedding guest went around to fact check, but it made me feel better knowing the snippets of the story I selected would be placed in chronological order.
Next, we had to create stencils for the numbers. I initially planned to free-hand draw the numbers with a black sharpie. But, as my fiancée wisely pointed out, I am not a calligraphist or an artist (even my stick figures are pitiful).
So, we put our heads together and came up with a fun little hack. We used our at-home projector to trace the numbers in our desired font onto a blank piece of paper. Then we were able to cut/carve out the numbers and voila – we had our own custom-made stencils!


To get the numbers onto the book page, we lightly dabbed black acrylic paint using a spare kitchen sponge. This method brought an additional texture to the numbers that helped them really stand out on the page. I’d also recommend using a small amount of painters’ tape on the top and bottom of the book pages and the stencil to keep everything in place as you work (you don’t want pages to slide around on your work surface and smudge the paint!).
Once all thirteen book pages were complete, we let them dry overnight in our living room.

At this point, we were pretty pleased with our progress – until we realized that we somehow needed to acquire 13 identical gold floating frames to complete the project…
See how it all comes together in part two, which I’ll be sharing next Sunday!
Until then, I hope you have a cozy week 🙂
Talk to you soon,
J. Shirley


[…] part one of this Pinterest-inspired, book-lover wedding DIY, we left our custom-stencil numbered book pages […]