In part one of this Pinterest-inspired, book-lover wedding DIY, we left our custom-stencil numbered book pages drying in our living room overnight.
There were still a few things we needed to do to complete this project:
- Collect 13 identical floating glass gold frames
- Purchase pressed dried florals
- Assemble the table numbers
For frames, HomeSense seemed like the most natural place to start. But, we quickly realized that HomeSense wouldn’t have 13 identical gold frames (though you could always mix and match!). For us, HomeSense simply wasn’t budget-friendly enough for a DIY project of this scale.
That’s how we ended up at Dollarama, with nothing more than a hunch that they might have the gold frames we needed and – jackpot! We cleared out 7 from one location and checked out other locations for more (we even got a few extras, just in case). Their gold floating glass frames were about $4 each.
I still wasn’t sure where I could find dried florals. Then, a friend suggested checking out Amazon. It turns out, you can purchase dried florals from Amazon for a reasonable price. I went with yellow and pink dried florals to match our British countryside garden wedding them. We also purchased Mod Podge glue from our local art supply store. Finally, we were ready to assemble these wedding table numbers!!
We made an afternoon of it, cozied up at our kitchen table – sort of like craft day in elementary school.
For this part of the project, there are a few supplies you’ll probably want to have on hand:
- Mod Podge glue
- Dried florals of your choice
- Tweezers
- Q-tips
- A mat and/or newspapers to protect your worksurface
- A lit candle if you want to make your crafty afternoon ~a vibe~

I’d say assembling the wedding table numbers was the highlight of this wedding DIY project – I absolutely loved seeing our work come together!
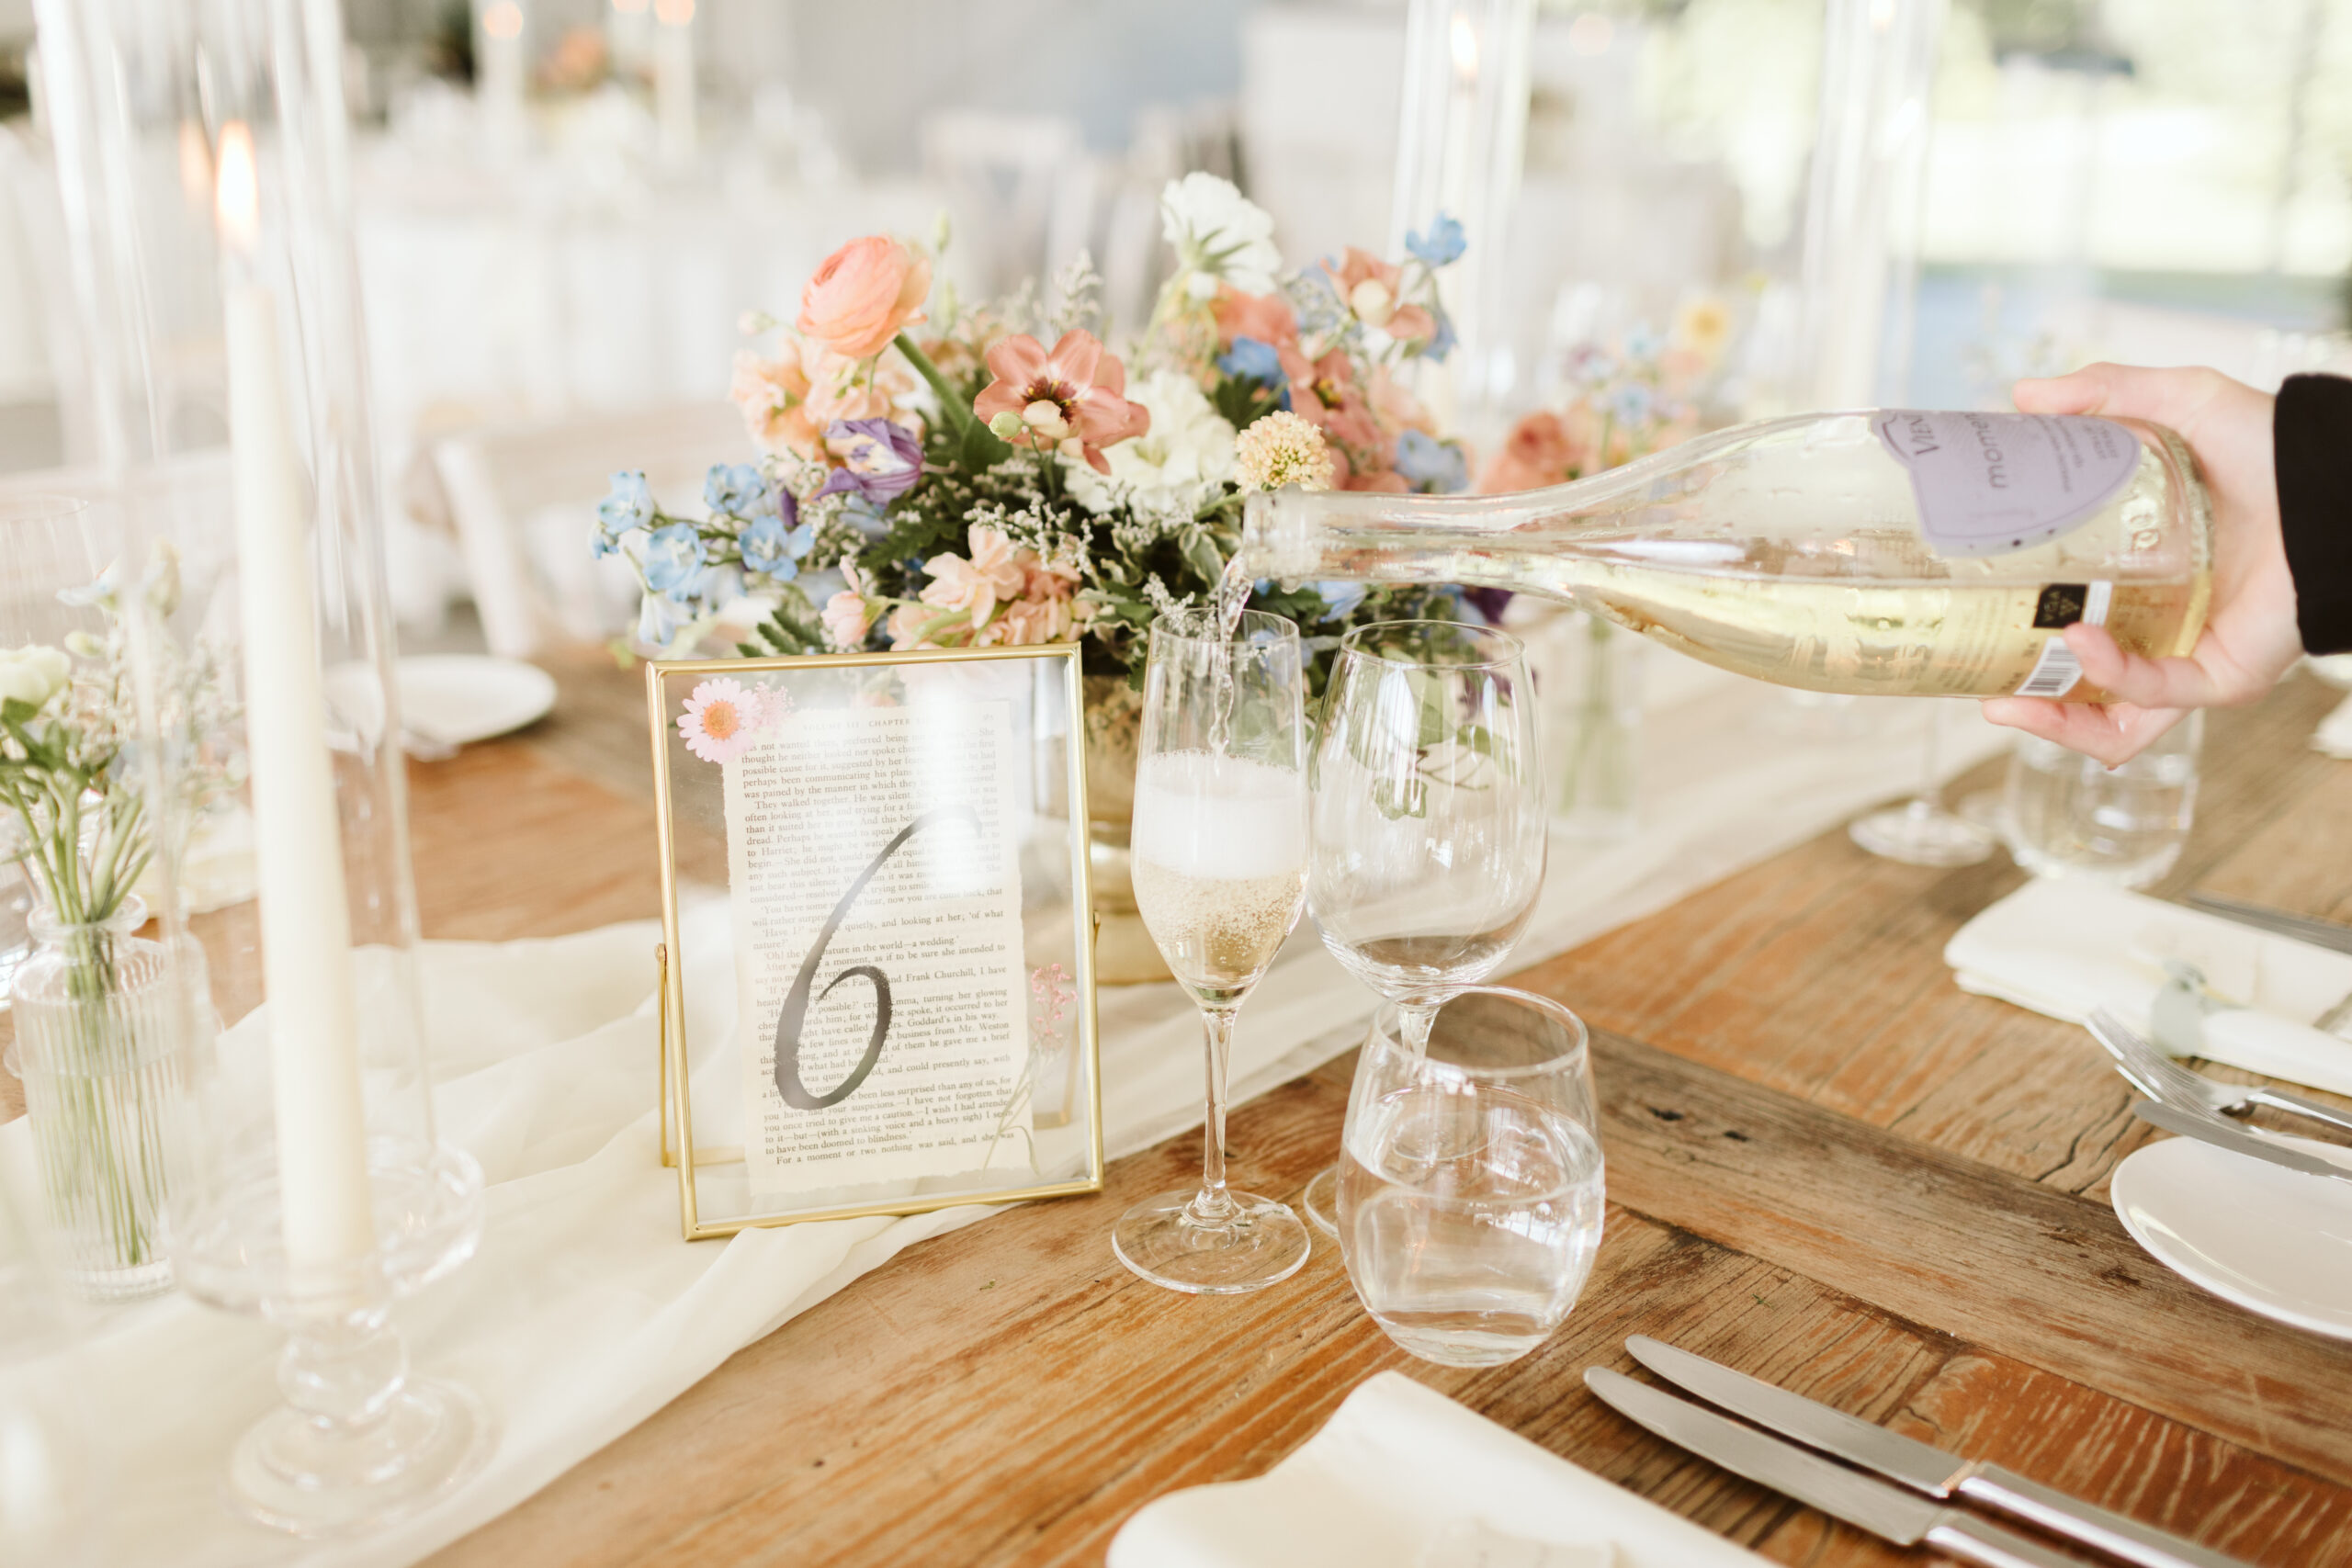
Using a Q-tip, we started by dabbing the four corners of the back of the book page with Mod Podge and placing them on the frame. Once we were satisfied that the glue was dry, we used tweezers to carefully grab the pressed flowers (they’re quite delicate!) and starting playing around with placement.

On the whole, we tried to keep the dried florals balanced between 2-3 corners of the book page. Once we were happy with the placement, we used Mod Podge and tweezers to stick the florals to the book page/frame (a very finnicky process that required multiple cups of tea and lots of patience).
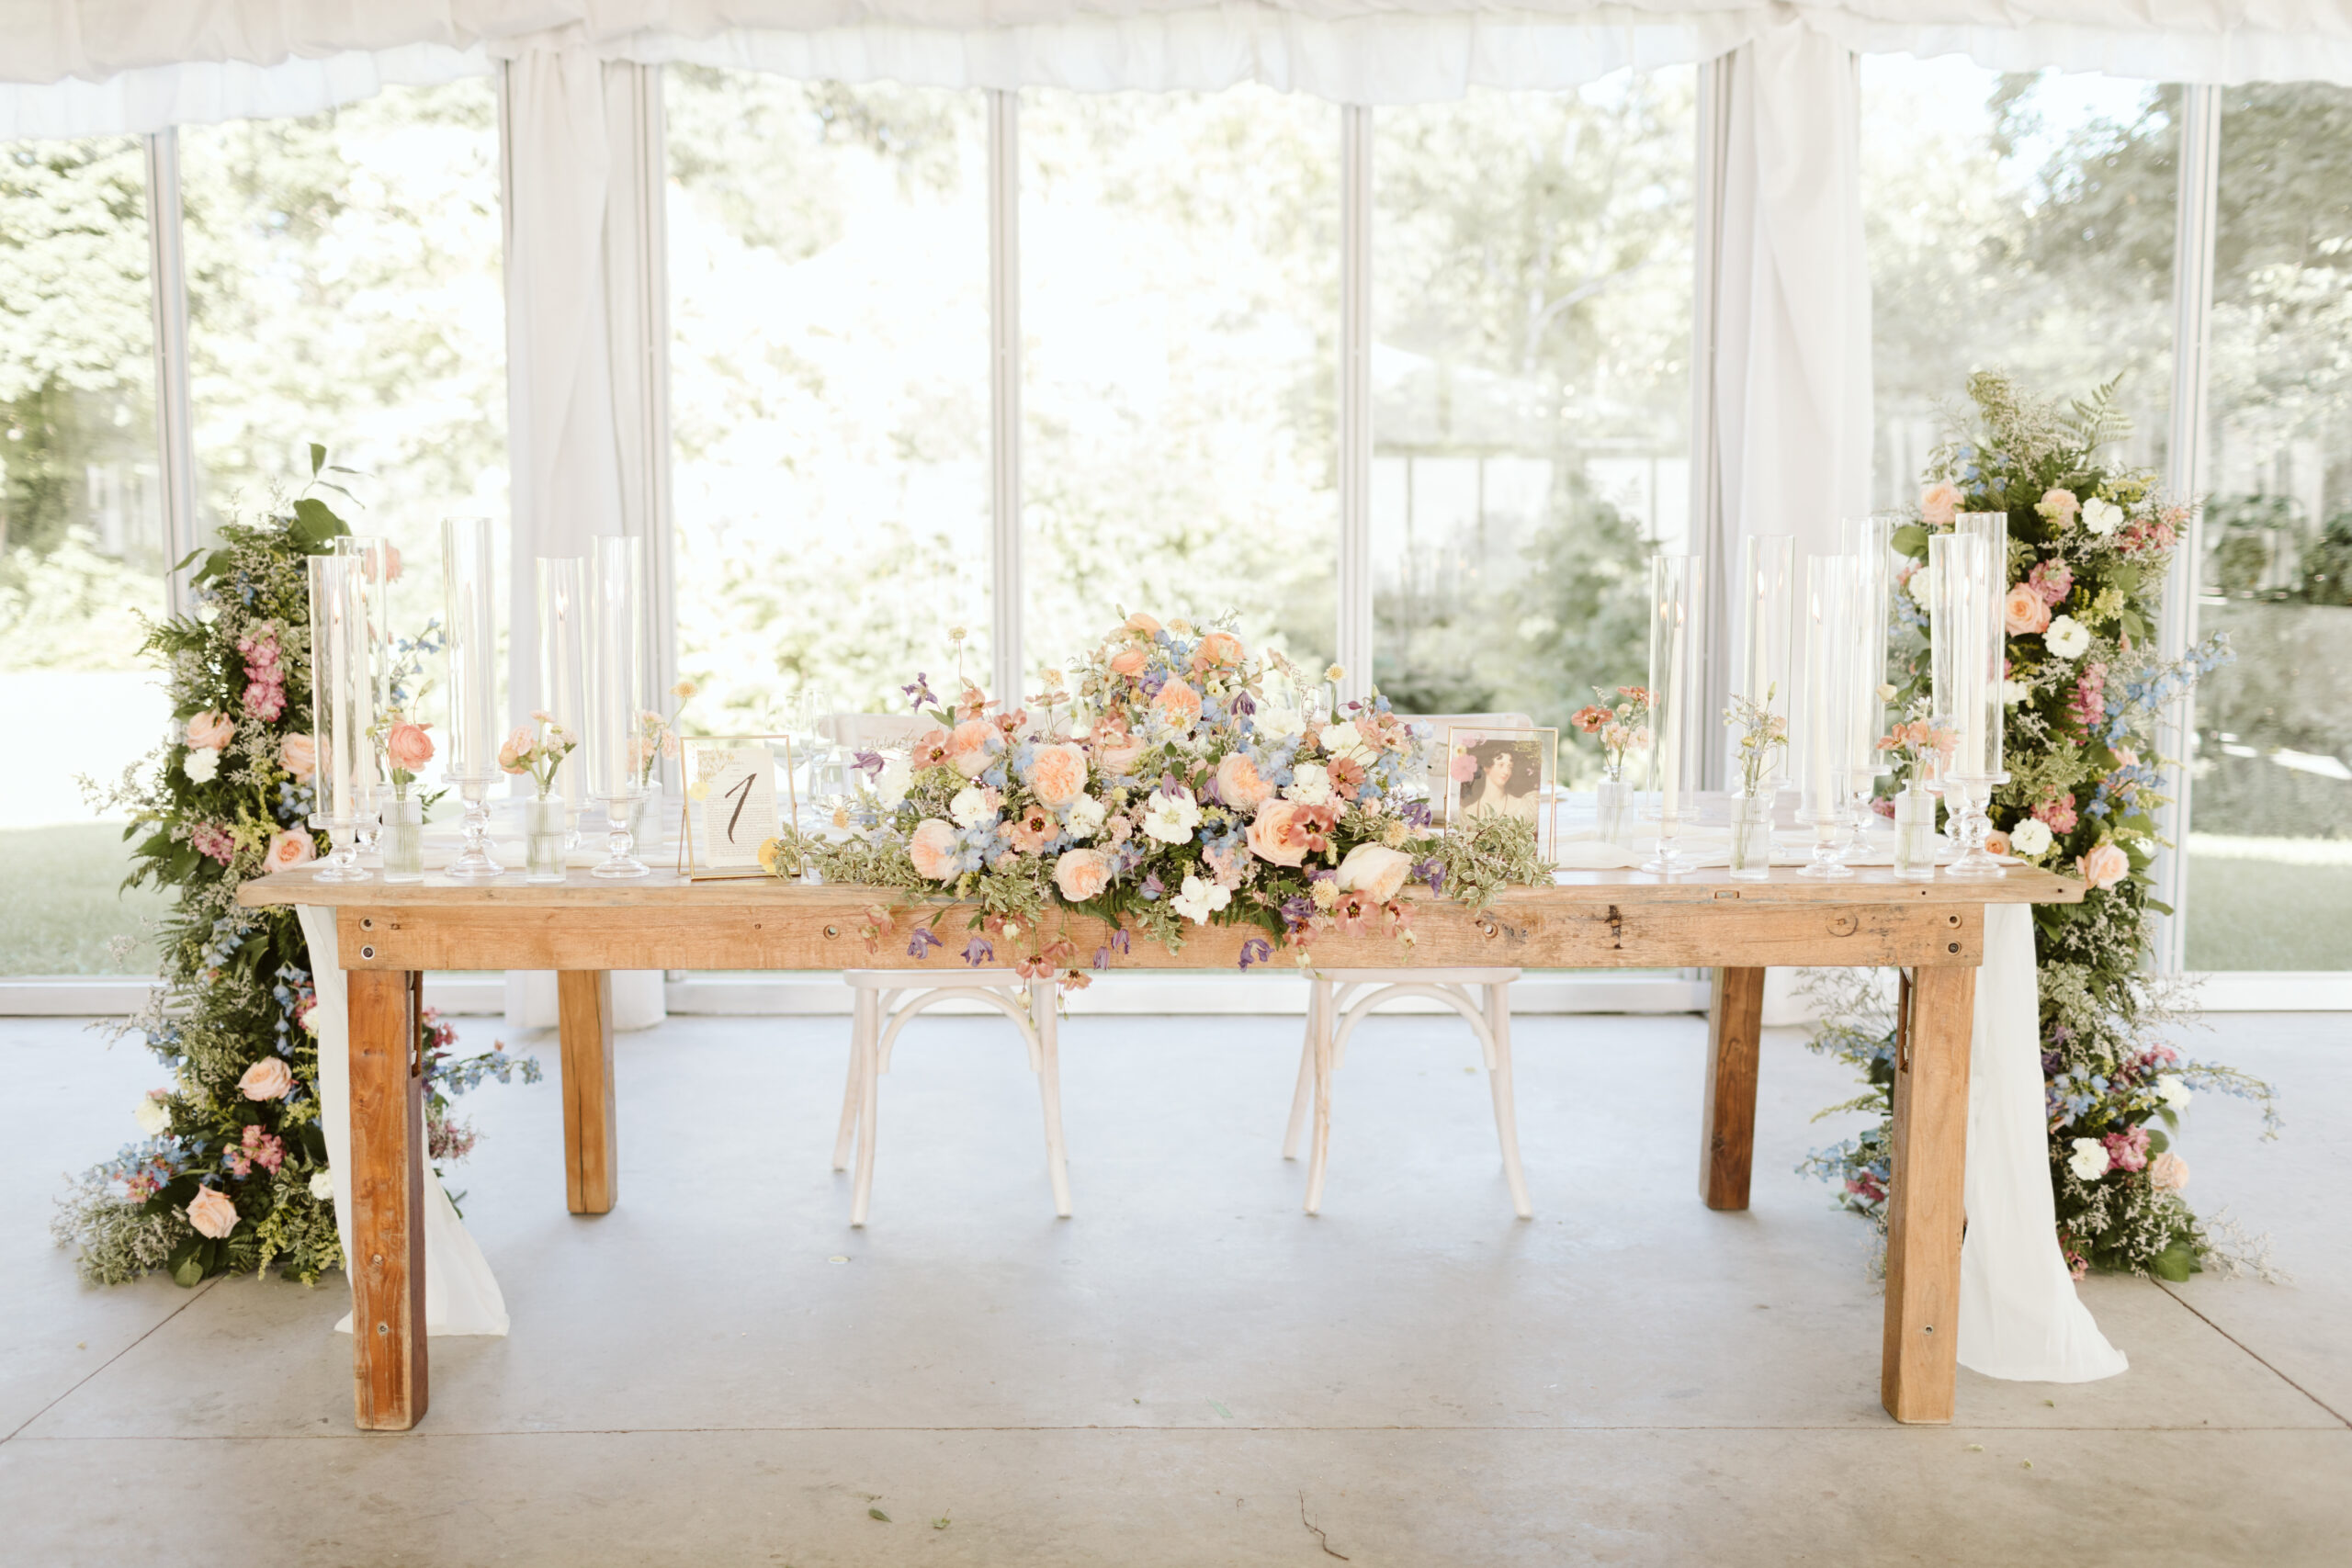
We enjoyed the end result so much that we decided to do one for the cover of the book with one of our spare frames (which ended up becoming part of our sweetheart table on the big day!).

We were so happy with how these bookish wedding table numbers turned out – and we had more than one wedding guest try to guess which book the pages came from!
Photo by Maddie Mellott Photography.
For my fellow book-lovers out there: is this something you’d want to try for your wedding? How did you incorporate your love of reading into your big day? I’d love to know!
Talk to you soon,
J. Shirley
P.S. In case you missed it, here’s part one of this wedding DIY that is perfect for book-lovers.